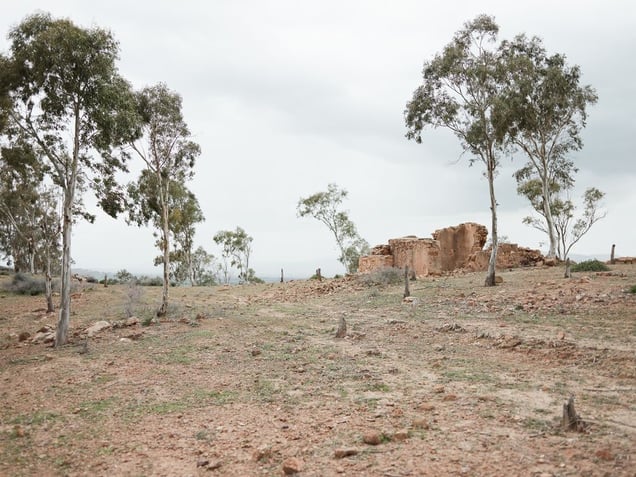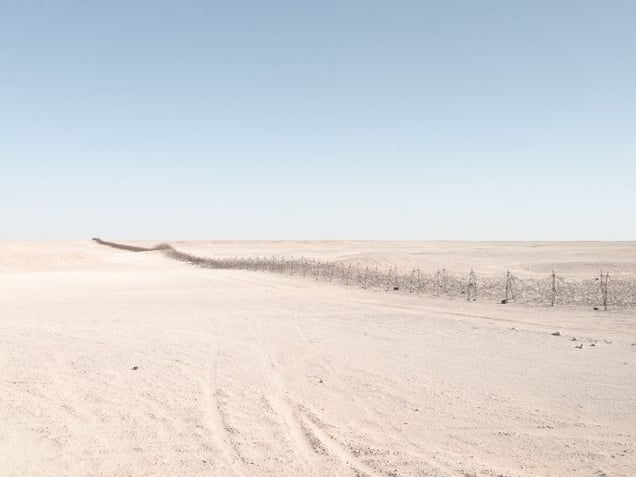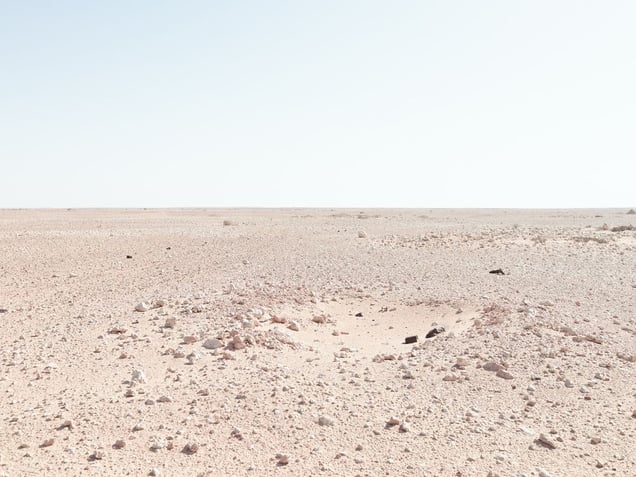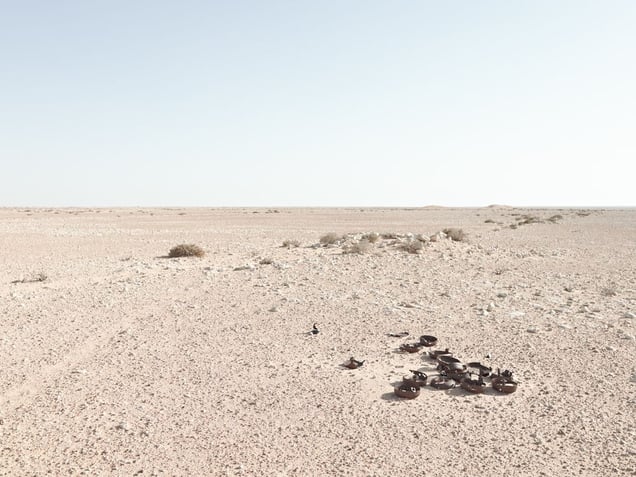

Topography is Fate: North African Battlefields of WWII
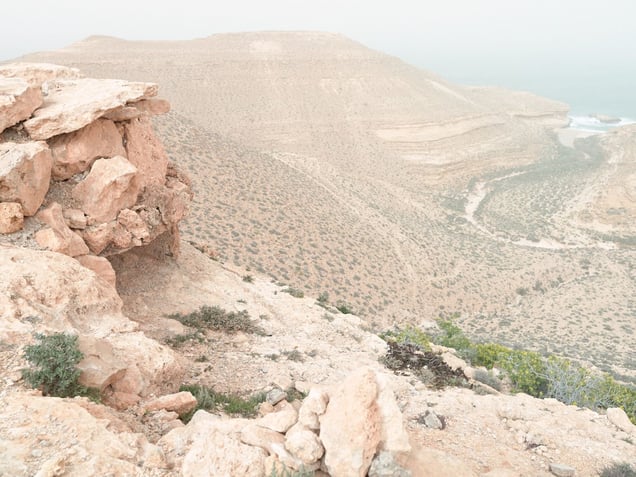
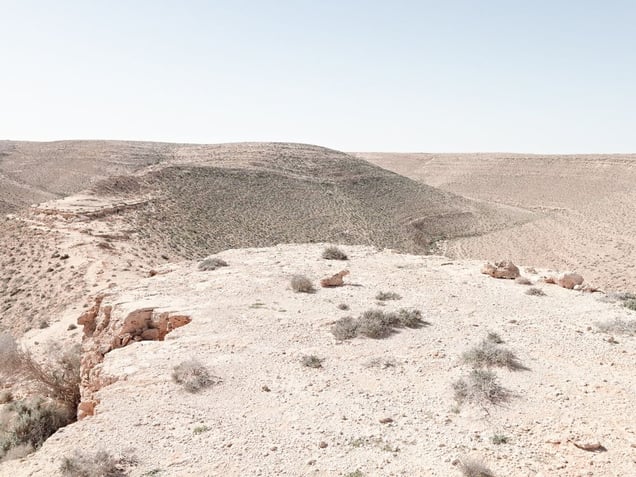
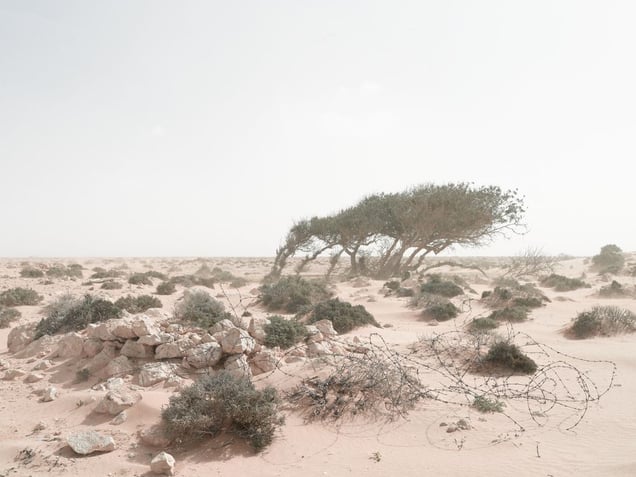
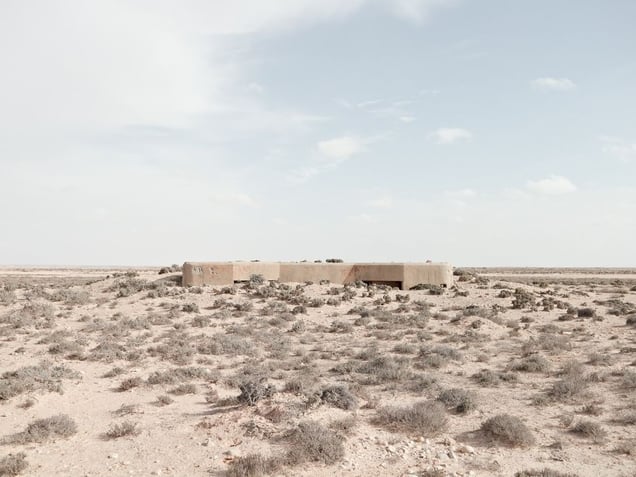
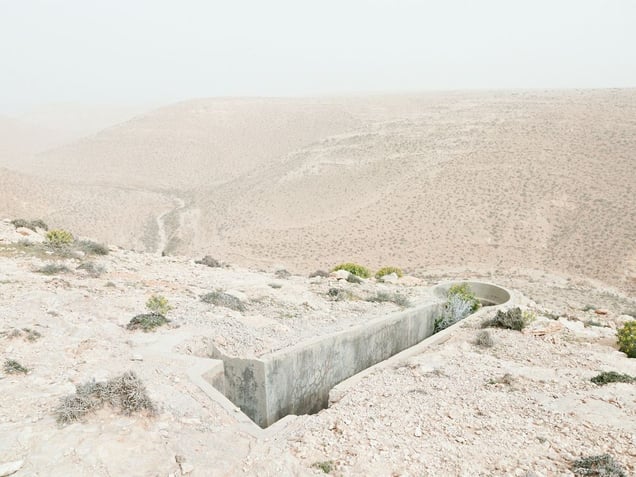
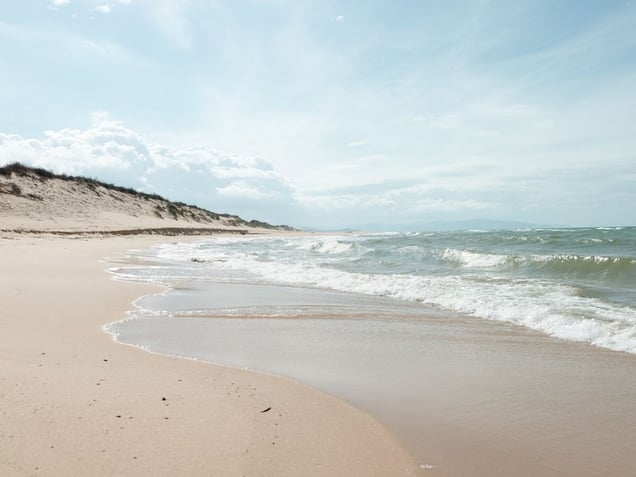
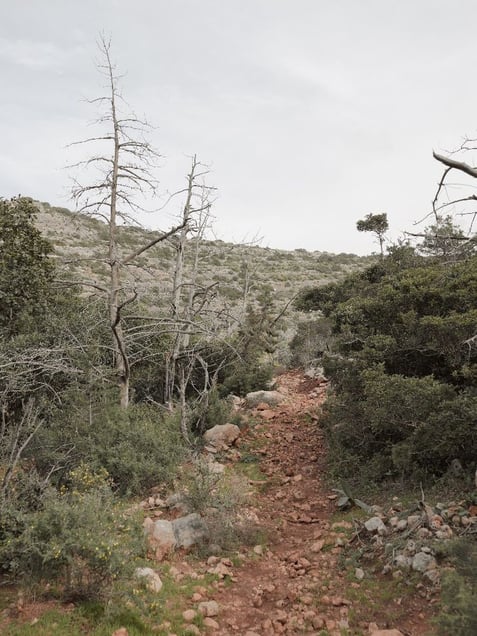
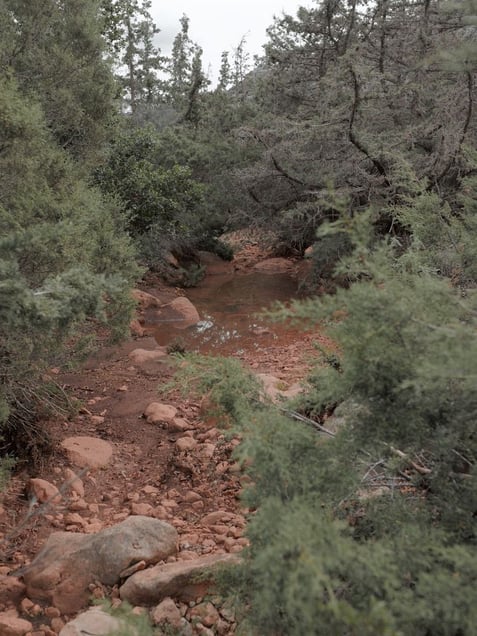
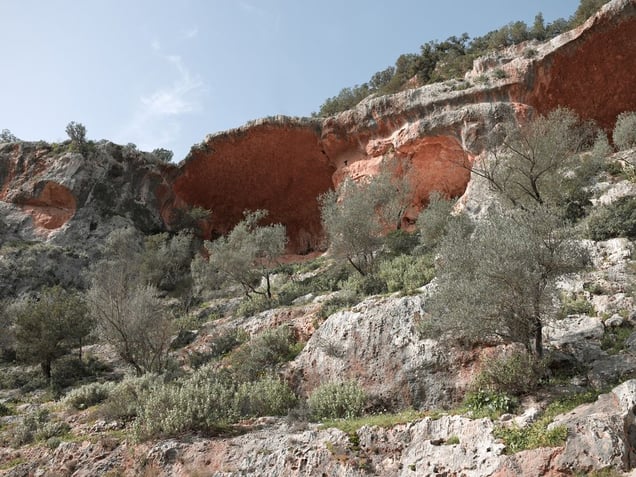
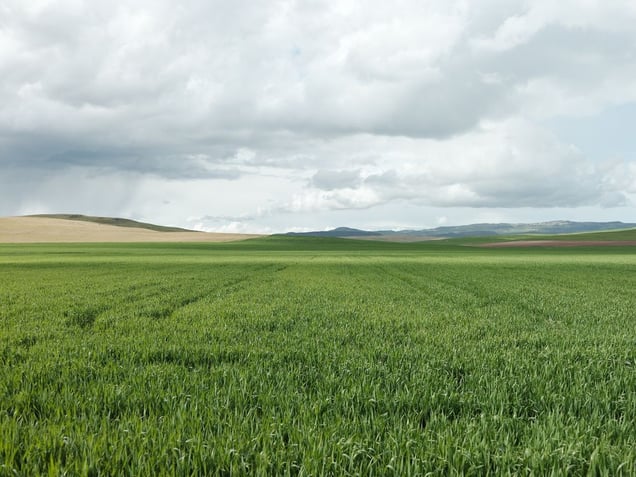
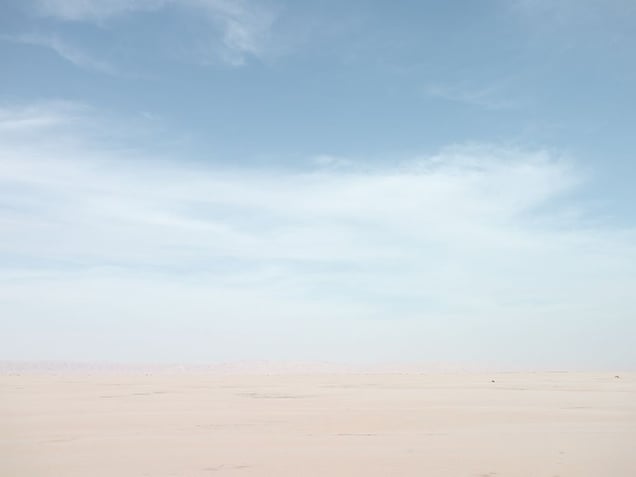
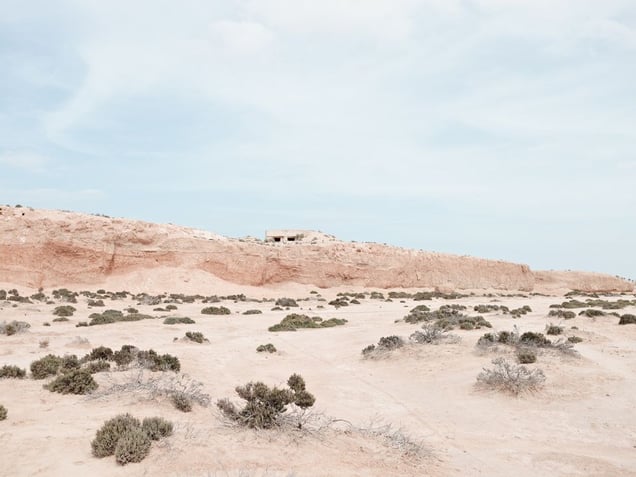
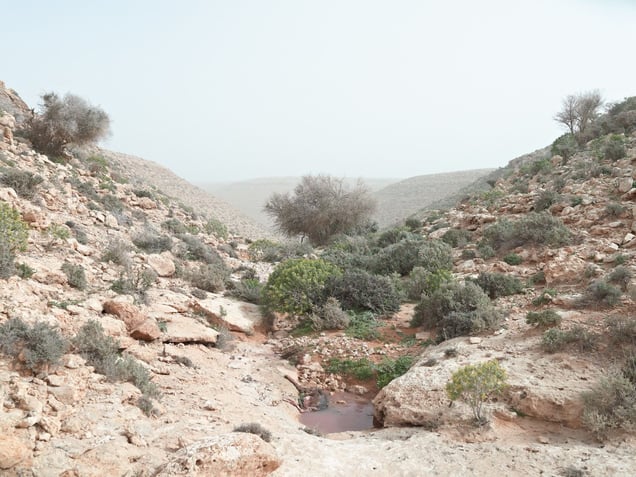
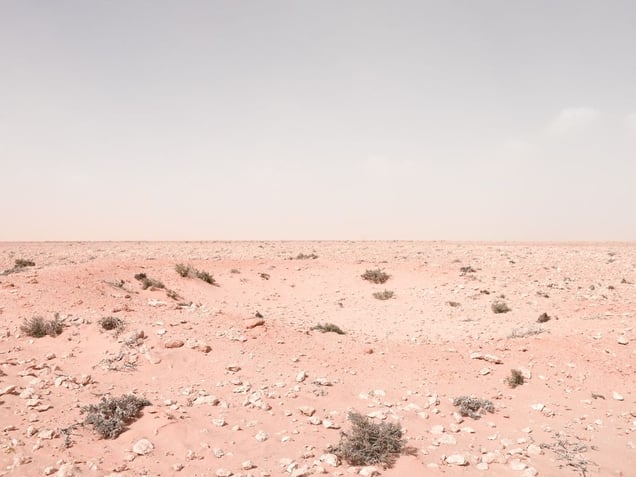
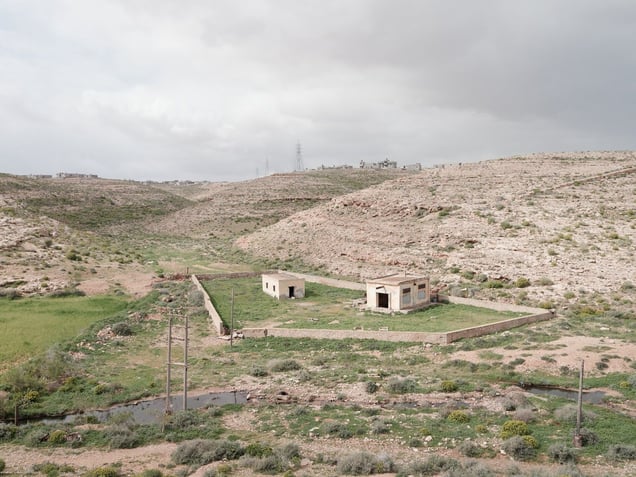
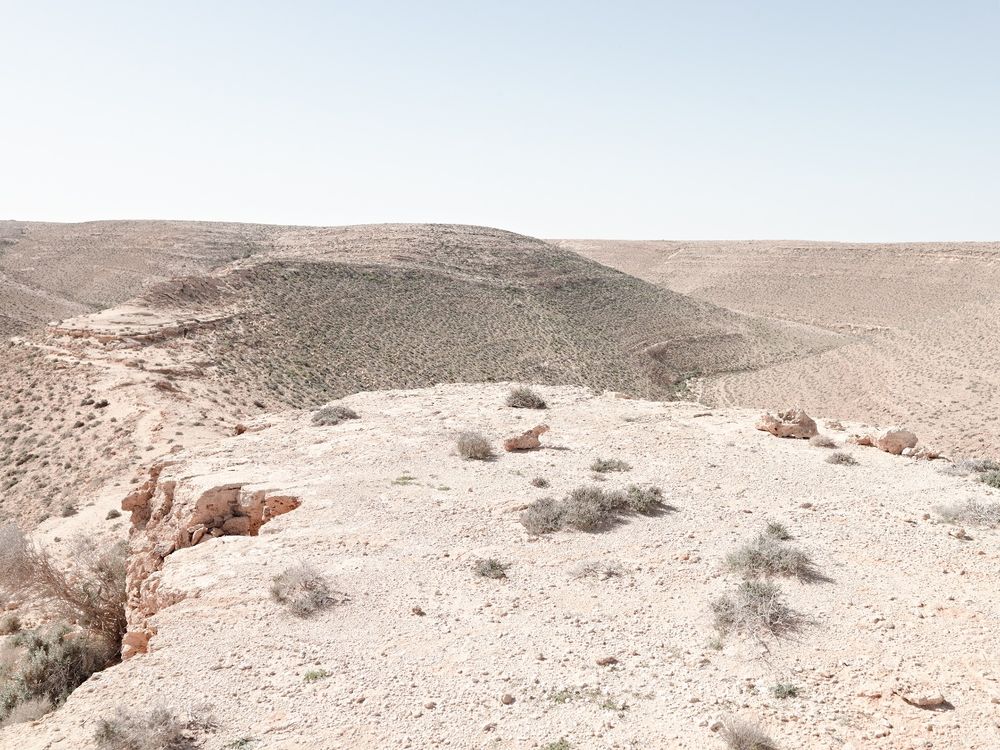
This project, published as a monograph by the German publisher, Kehrer Verlag, considers the varied landscapes of North Africa that the Allied soldier of World War II was forced to endure. Thousands of miles from home, largely untraveled and ignorant of lands and peoples outside his home country, he was dropped onto the shores of what must have seemed to him a dangerous and alien environment—his understanding of the land limited to stereotype, myth and the relevant army field manual. Some World War II battle sites, such as the D-Day beaches of Normandy, are well known and frequently visited. The critical battlefields of the North African campaign, which took place between June 1940 and May 1943, are particularly inaccessible, both because of their geographic location and because they exist within a region that continues to be affected by political strife and violent upheavals. Yet, in 2011 and 2012, the photographer Matthew Arnold spent several months traveling from Egypt to Tunisia to document remote WWII battlefields where Axis and Allied forces fought against each other and against the elements amid challenging terrain. The approach is conceptual, with the photographs of the North African battlefields presented, similar to the "New Topographic" photographers of previous generations, in an almost anonymous and neutral tone of voice. The images are taken in daylight, without complexity and noise, portraying a peaceful quietness of the desert or grassland to allow viewers to fill in that negative space with their own visualization of the war. » A vivid, often haunting look at North African battlefields that have been silent and largely unobserved for more than seventy years. Matthew Arnold’s photographs are so compelling that little imagination is needed to see opposing armies once again sweeping across the desert.« Rick Atkinson, PULITZER PRIZE-WINNING AUTHOR OF "An Army at Dawn—The War in North Africa, 1942-1943"
No categories selected
Photos (20)